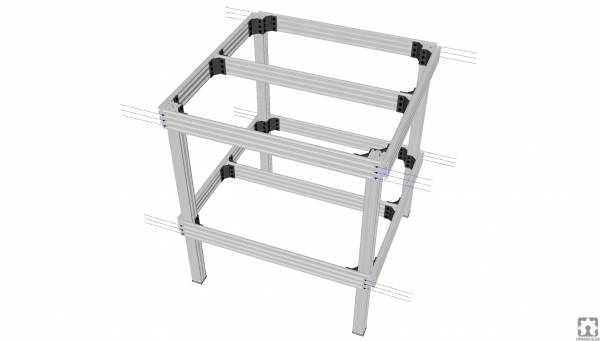
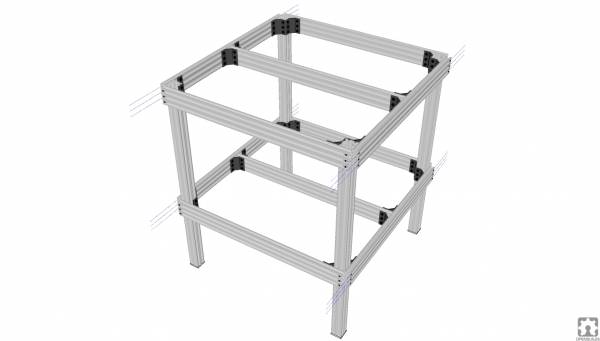
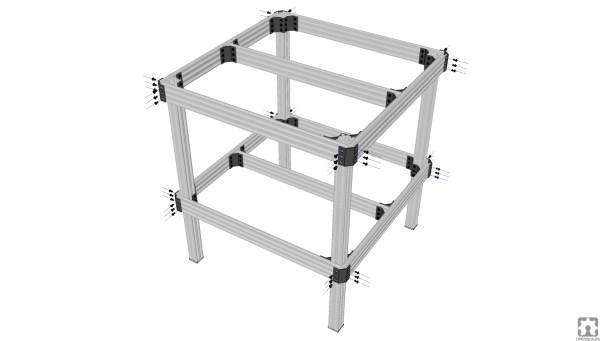
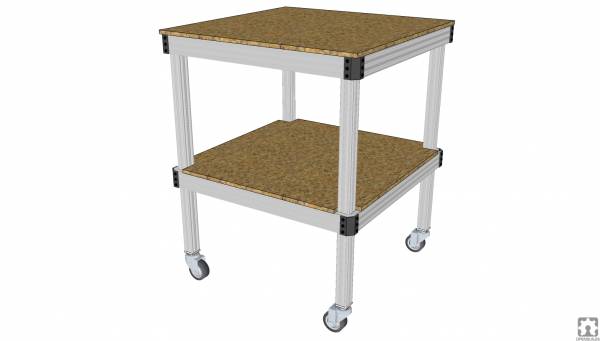
OpenBuilds Table Series: Assembly Procedure
Order your OpenBuilds Table Series
Required Tools and Accesories:
You will need:
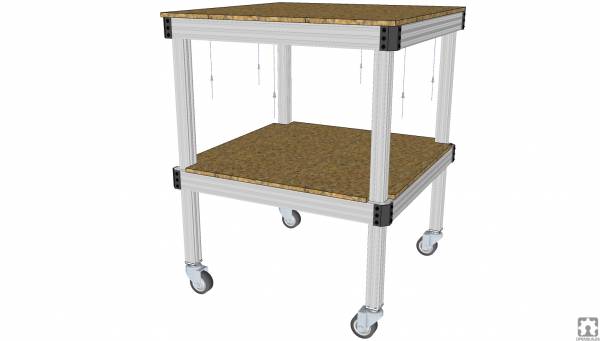
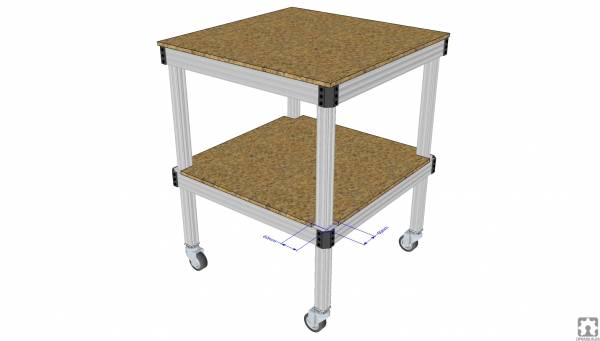
- MDF/Ply/Sheet stock for top and optional shelf
Assembly:
TIP: Click on an image to see a larger view
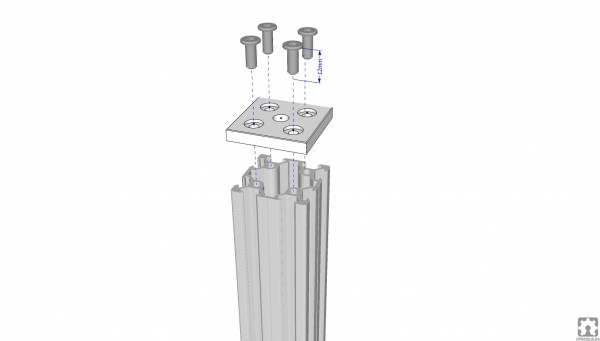
1. Install Caster Plate
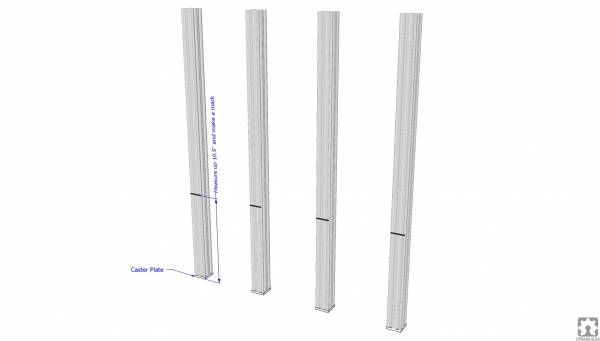
2. Mark Shelf Height
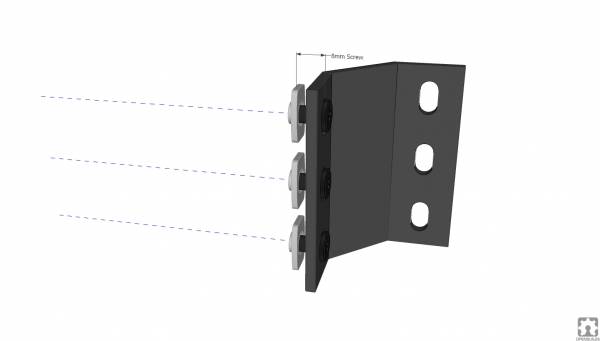
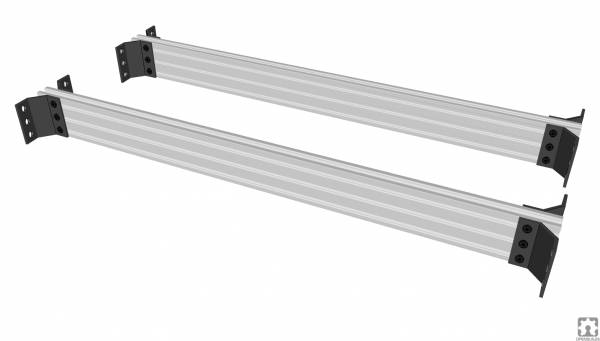
3. Pre-assemble 8x Corner Brackets
Preassemble 8x Corner Brackets with M5x8mm Screws and Tee Nuts as shown, set aside for the next step:
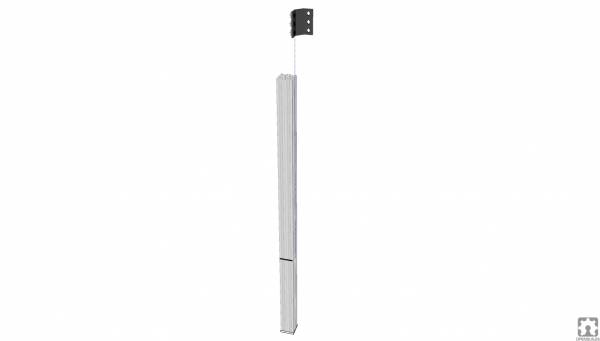
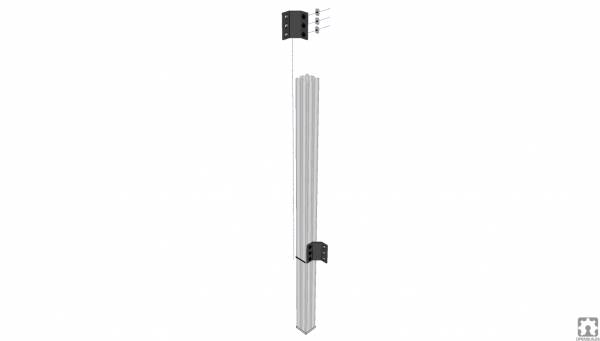
4. Slide 1st Corner bracket down to the mark
5. Slide 2nd Corner bracket down to the mark
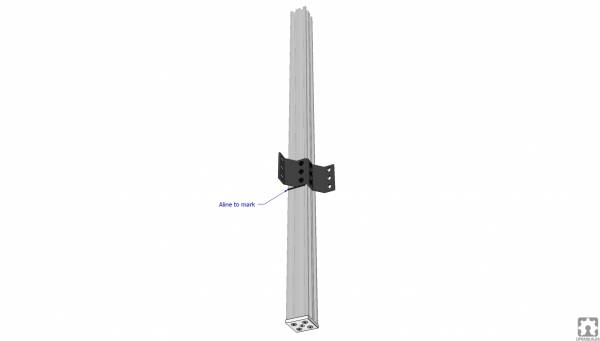
6. Align and tighten
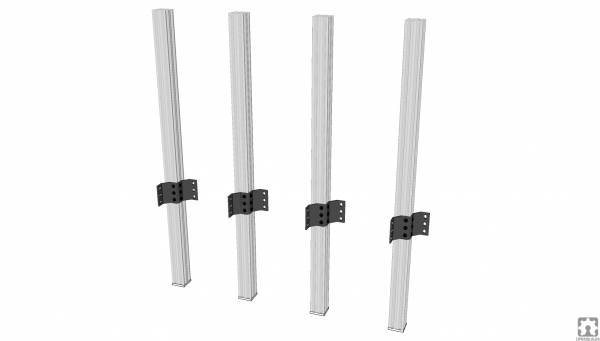
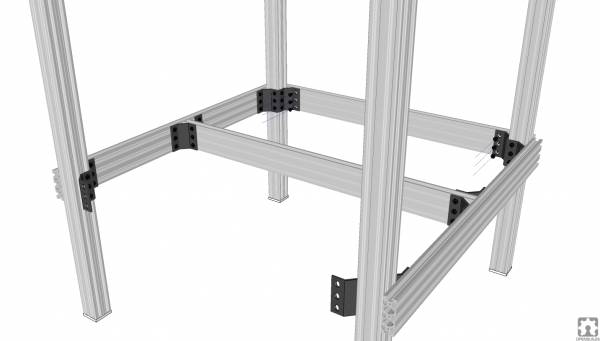
7. Complete shelf bracket corners for remaining legs
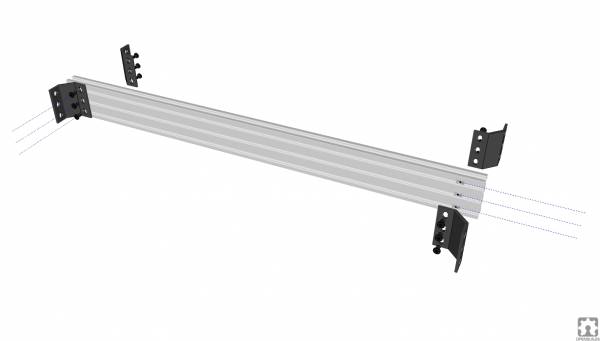
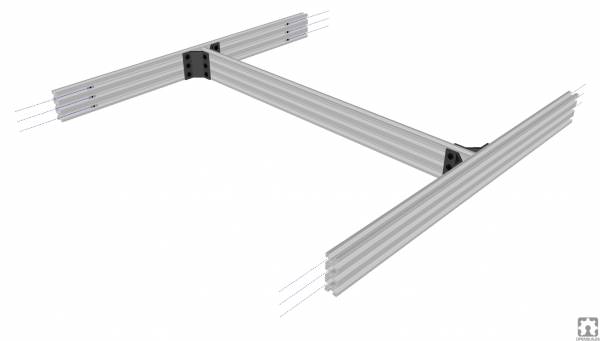
8. Create first Brace
9. Create second Brace
10. Attach Frame Sides to braces
Attach Frame extrusion to the Braces using 12x Tee Nuts and M5x8mm Screws. Ensure that the Brace is centered on the sides:
11. Add 12x Tee Nuts
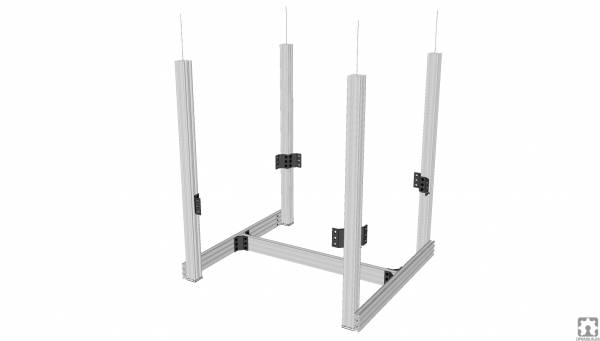
12. Place legs in position
Loosely position the 4 legs as shown, on the ground, near one of the Frames assembled in the step before.
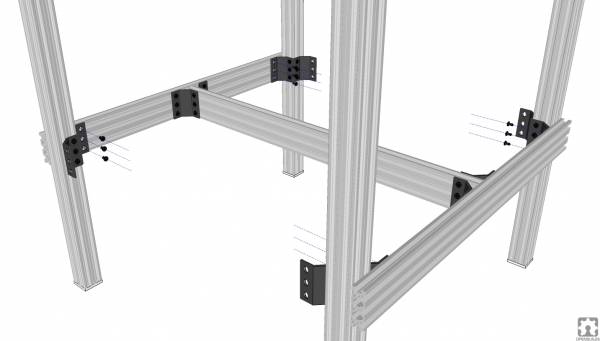
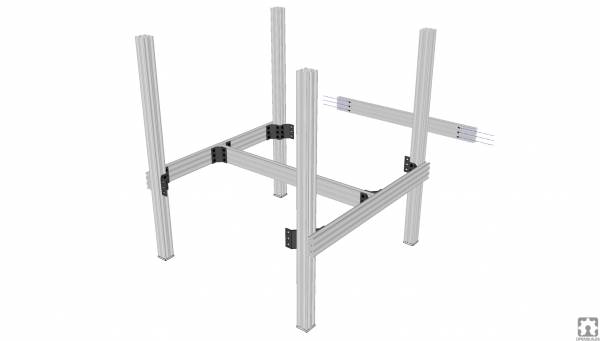
13. Raise the frame and attach to the brackets
Raise the Frame assembly up and attach to the leg's corner brackets using M5x8mm screws into the Tee nuts from step 11, as shown
14. Slide 6x Tee Nuts into back frame pieces
15. Attach frame pieces
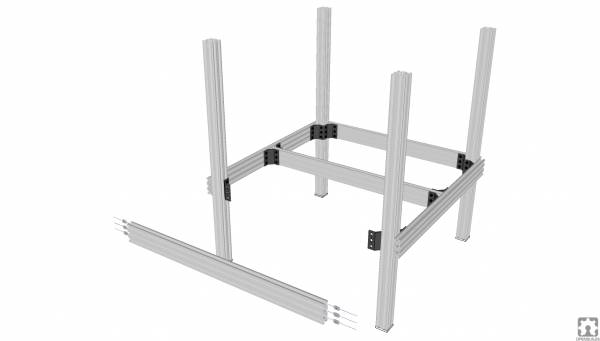
16. Slide 6x Tee Nuts into the front frame piece
17. Attach front frame piece
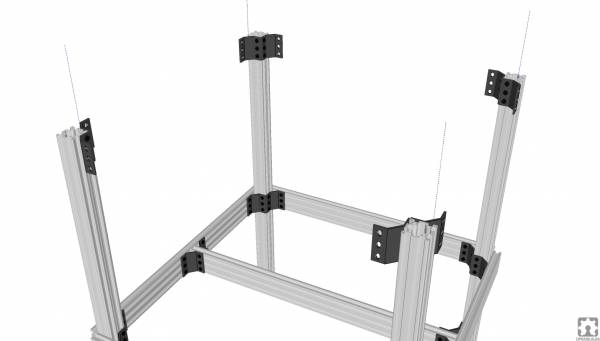
18. Pre-assemble 4x corner brackets
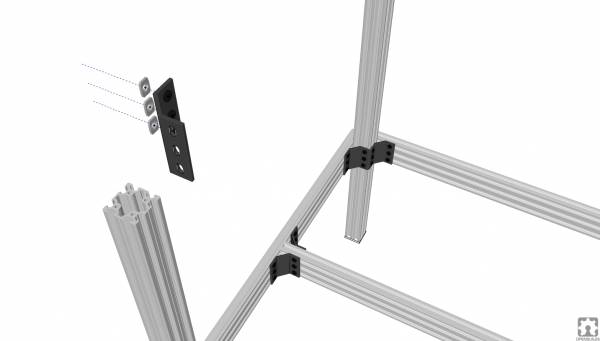
19. Attach brackets to all 4 legs
Attach these 4x corner brackets to the top of the legs as shown. Ensure you line them up flush with the top of each leg.
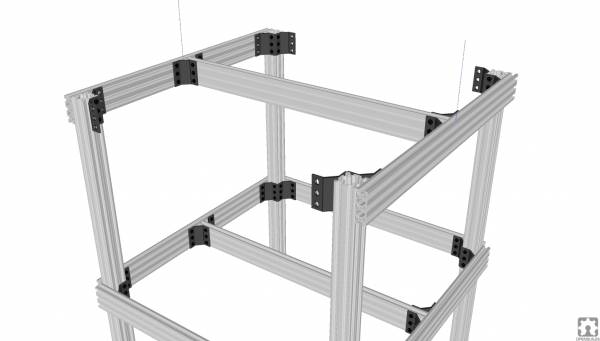
20. Make up 4x more corner brackets
21. Slide the brackets into place
Attach them to the adjoing edge at the top of each leg, taking care to align them even with the top, just as you did for step 19:
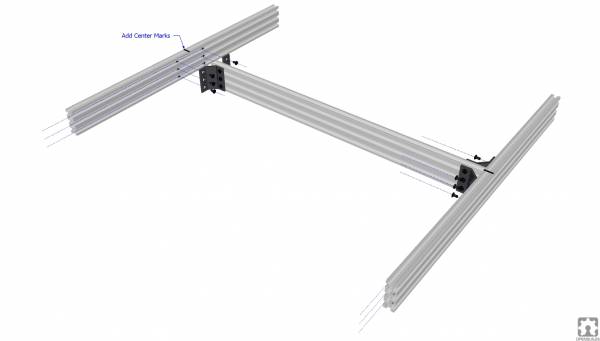
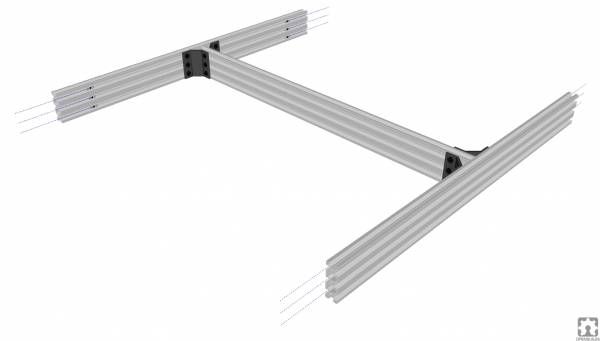
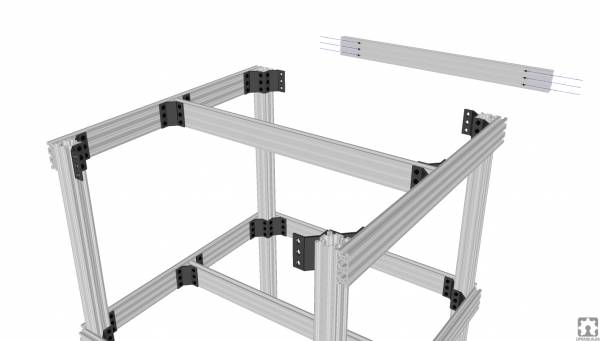
22. Attach brace to side pieces
Using 12x Tee Nuts as shown, attached another 2x Frame extrusions to the remaining Brace, ensuring that the Brace is centered on the sides:
23. Add 12x Tee Nuts
24. Position Brace Assembly
25. Attach Brace Assembly
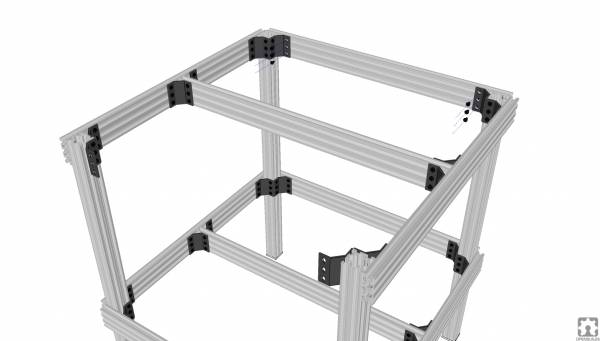
26. Slide Tee Nuts into Back Frame
27. Attach Back Frame Extrusion
Attach the Back Frame Extrusion to the Corner Brackets using M5x8mm screws, taking care to align it flush with the top of the legs.
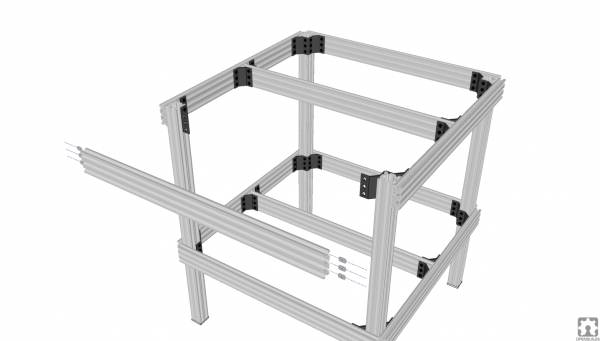
28. Slide Tee Nuts into Front Frame
29. Attach Front Frame Extrusion
Attach Front Back Frame Extrusion to the Corner Brackets using M5x8mm screws, taking care to align it flush with the top of the legs.
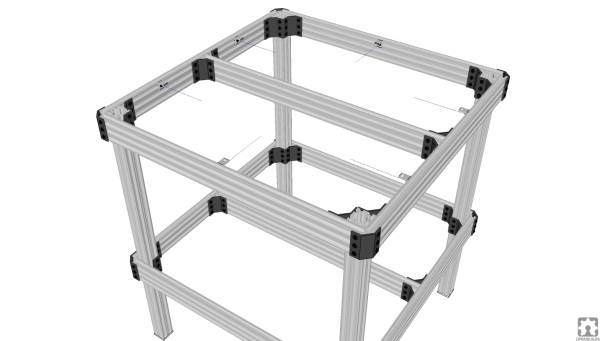
30. Slide 24x Tee Nuts into both shelves
Slide 24x Tee Nuts into front and back frame pieces, on the front and back sides on both shelves as shown, 3x on each end:
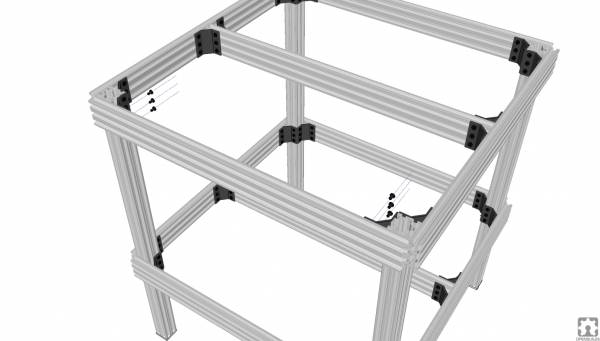
31. Slide another 24x Tee Nuts into both shelves
Slide another 24x Tee Nuts into front and back frame pieces, on the left and right sides both shelves as shown, 3x on each end:
32. Attach 8x Corners
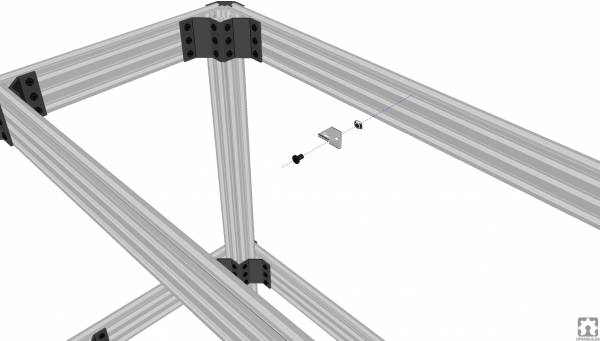
33. Attach L-Bracket
34. Attach more L-Brackets
Align the remaining L-Brackets flush with the top, and install using Drop-in Tee Nuts, and M8x5mm Screws. Position them where you plan on attaching the table top later:
35. Install the Caster Wheels
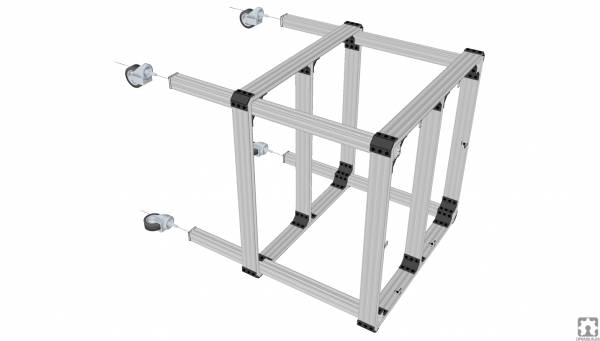
Rotate the assembly onto its side, and attach the 4x Caster Wheels into the Caster Plates (Installed in Step 1)
